How To Waterproof When There Is Water?
Jan 15, 2024
When doing waterproofing in a watery environment, you need to pay attention to the following steps:
Base treatment: First, the base surface needs to be treated, including removing defects such as bumps, sand, depressions, etc., and ensuring it is clean and dust-free.
Strengthening treatment: For parts prone to leakage such as pipe roots and wall corners, waterproof mortar needs to be used for strengthening treatment to prevent moisture penetration.
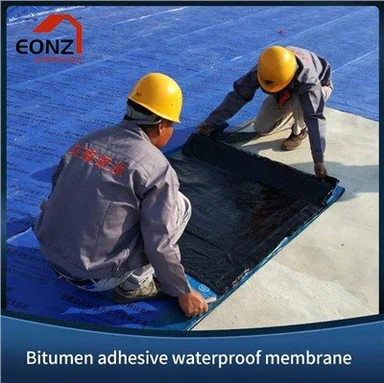
Applying waterproof coating: Applying waterproof coating to the base layer usually requires two to three coats, and each coat must wait until the previous coat is completely dry before continuing. The thickness of the coating should not be less than 3 cm.
Closed water test: After the waterproof coating dries, a closed water test is required to test the quality of the waterproofing construction by closing the pipe opening and storing water on the ground for a certain period of time. If there is leakage, waterproofing construction needs to be carried out again; if there is no leakage, it means that the waterproofing construction is qualified.
Precautions:
After the waterproofing construction is completed, attention should be paid to protecting the waterproofing layer to avoid damage to it during subsequent construction.
If there are modified walls in the bathroom, such as new walls, concrete should be poured at least 30 cm from the bottom of the new wall to prevent moisture from penetrating from the outside.
Floor heating systems should not be installed in bathrooms because high temperatures may cause the waterproofing layer to fail.
The waterproofing treatment of the bathroom threshold stone is also very important. Both sides of the threshold stone and the ground waterproofing should be connected to form an overall waterproof system.
For bathrooms with radiators, avoid heating pipes passing under the threshold stone to prevent high temperatures from damaging the waterproof layer.
Consider installing a waterstop at the bathroom door to reduce the impact of water on the ground.
Other auxiliary measures: You can consider making beautiful seams on the tiles on the bathroom floor, which not only helps with the appearance, but also has a certain waterproof effect.
Closed water test: After the waterproofing construction is completed, a closed water test should be carried out, that is, the bathroom should be filled with water and observed for at least 24 hours to confirm whether there is leakage in the waterproof layer.